We use cookies to make your viewing experience better. By accepting you consent, you agree to our Cookie policy
A Simple Guide To Craft CMS Plugin Development
Looking to build your first Craft CMS plugin but unsure where to start? This guide distils the key concepts like architecture, debugging, testing and distribution into bite-sized explanations. Gain the knowledge to turn your idea into a working plugin through simple, practical advice from planning to launch. Even beginners can quickly grasp plugin development fundamentals with this starter roadmap.
This guide outlines key steps for beginners to develop Craft CMS plugins: plan features, setup local environment, create folder structure, register plugin class, add settings/fields, encapsulate logic in services, integrate Twig templates, leverage Craft elements, distribute on marketplaces, assist users installing.
Prerequisites for Developing Craft CMS Plugins
Installing PHP and a Web Server
To start developing Craft CMS plugins, you'll need a local PHP environment and web server installed. Two popular options on Mac or Windows are MAMP or XAMPP, which provide an Apache server, MySQL database, and pre-configured PHP setup.
Download and run the installer - it should only take a few minutes to get up and running. Once installed, you can start and stop the servers as needed. Test it's working by creating a simple PHP file with <?php phpinfo(); ?> and browsing to it - you should see details of your PHP config.
With the backend environment ready, you can now install Craft CMS and have it run locally for development and testing. Having a tight feedback loop makes plugin creation far quicker.
Setting up Composer and GitHub
Next step is installing Composer, the dependency manager for PHP. You'll need it to bring in Craft CMS and any other libraries.
Visit the Composer website and follow their installation instructions for your OS. It's also available via Homebrew on Mac.
To track changes and versions, we highly recommend using Git with a GitHub repository. Grab a free GitHub account, then create a new empty repo for your plugin.
Clone it locally and add Craft CMS and your plugin code. Use commits to save progress, and push back to GitHub whenever you reach a stable point.
This setup may feel like overkill for smaller plugins, but it's vital experience for professional development.
Downloading and Installing Craft CMS
Now we're ready to install Craft CMS itself. Grab the latest stable zip from https://craftcms.com and unzip it into your web server's folder.
You may need to tweak some write permissions depending on your OS and setup. For MAMP on Mac, the web root is normally at /Applications/MAMP/htdocs.
With the files in place, visit the Craft install page in your browser, such as http://localhost:8888/craft/install.php. Follow the prompts to get your local Craft site configured.
Once the installer finishes, delete the craft/install folder for security. Test that the front-end site works, then login at /admin with the details created during installation.
Creating a Simple "Hello World" Plugin
As a test, let's create a simple "Hello World" plugin. In your plugin's folder, create a src folder, then a Plugin.php file inside with this:
<?php
namespace ns\prefix;
use Craft;
use craft\base\Plugin as BasePlugin;
class Plugin extends BasePlugin
{
public function init()
{
Craft::info('Hello World!', __METHOD__);
}
}
Now zip up the plugin folder, go to Settings > Plugins in Craft's admin, and use the Upload button. Test it worked by checking your logs - you should see the "Hello World!" message output!
This validates that your local environment is all setup correctly for developing real Craft plugins. With the fundamentals in place, you can now start building and releasing your own plugins to the Craft community.
Understanding the Craft CMS Plugin Architecture
Anatomy of a Plugin
Craft plugins have a defined structure and set of files that make up the anatomy. At the top level there's a composer.json file that declares metadata like the name, description, and required PHP version.
The main business logic goes in the /src folder. Here you'll have a Plugin.php file that handles registering the plugin with a unique ID. Any services, variables, controllers and other code lives here too.
On the presentation side, /templates contain any Twig templates for front-end display. And /translations allows localizing text into different languages.
Additional folders like /config and /migrations allow module and database setup. While /tests lets you add unit tests for robust code.
Following these conventions results in a predictable structure that Craft developers expect.
Registering a Plugin
All plugins must be registered with Craft via a Plugin.php file in the /src folder. This defines a class that extends craft\base\Plugin.
The class name, namespace, and id property are key - these uniquely identify the plugin. Use your vendor name and a hyphenated plugin name for conventions like acme-blog.
The init() method can register components like services. And Craft::info() can log messages.
Defining Plugin Attributes
A plugin's composer.json file defines metadata attributes:
Name - The user-facing plugin name
Description - A short summary of what it does
Version - Semantic version number
Author - Author name or company
These details are shown within Craft's admin dashboard. Other optional details like documentation URLs can be added too.
Keeping the version up-to-date is important when releasing new versions. Craft uses semantic versioning so developers know what changes to expect.
Extending Core Functionality
Craft offers powerful extension points to tap into core functionality:
Hooks allow running custom code when events occur, like saving an entry. Registering event listeners makes use of these.
Modules support modularisation by splitting functionality into reusable modules.
Services act as common interfaces to encapsulate business logic and data access.
Learning these concepts is key to avoiding reinventing the wheel for common needs like data structures and workflows.
Encapsulating Business Logic with Services
For any non-trivial business logic, it's best practice to encapsulate it within a Service class.
These provide the advantages of reusability, decoupling, and testability. Other parts of the plugin simply call methods on the service object rather than directly implementing the logic.
Services can also abstract away the underlying data storage, whether that's custom DB tables or taking advantage of Craft's existing data structures.
Front-end Integration with Twig Templates
To output plugin data or UI elements to the front-end templates, Twig syntax comes into play.
Twig provides a powerful templating language that integrates into Craft templates. Your plugin can expose data via custom Twig variables, functions, filters and tags.
For example, a blog plugin may expose a {% blogPosts %} tag to output a list of blog posts. Or a plugin could provide a {{ post.featuredImage }} variable to access post data.
Twig integration completes the journey from Craft CMS backend business logic to user-facing presentation. Learning its syntax takes Craft plugins to the next level.

Developing Your First Plugin
Planning Your Plugin
Before diving into code, it pays to plan out your plugin's goal and scope. Consider these key questions:
What issue will your plugin solve or what need will it meet? Understanding the purpose focuses on features.
Who is the target audience? Is it for site editors, developers or end users? This informs the technical depth required.
What are the key features and minimum viable product? Prioritize must-have functionality.
Will it be free or premium? Paid plugins warrant more features but limit the audience.
How much time can you devote? Manage scope to match available time.
Document your answers in a README. It will guide development and aid promotion.
Folder Structure and Autoloading
For a small plugin, a simple folder structure works well:
/src for PHP classes
/templates for Twig templates
/config for config files
Use Composer to autoload classes for convenience. Adding a composer.json file means classes under /src are autoloaded on demand.
Name classes and filenames using StudlyCase rather than snake_case. Craft will instantiate classes automatically this way via conventions.
Configuring Settings and Fields
Let admins customize your plugin's behaviour through settings and custom fields.
In your primary plugin class, create a getSettings() method which returns an array of settings. Craft displays these on a settings page.
For reusable fields, create a Field model class and register it as a field type. Then you can create fields anywhere, including within settings.
Settings get saved as JSON in the main project.yaml config file. Use environment variables for sensitive data like API keys.
Controllers and Business Logic
Handle frontend requests in controller classes. Extend the Controller base class and create a public function actionName() for each action.
For business logic, encapsulate it into service classes. Controllers can then call service methods rather than implementing everything directly.
Services provide reusability across controllers and the wider plugin. Use them for email sending, data processing and more.
Integrating with Craft CMS
Leverage built-in Craft CMS elements like entries and categories to store and organize your plugin's data.
For example, a "News" plugin might create a News post element type for admins to create news articles. These become new entries.
Use categories to tag and group entries. Craft's structures handle the heavy lifting of content modelling.
For frontend display, entries have URLs and can be queried via Twig. No need to reinvent the wheel!
Template Integration
To pass data to Twig templates, create a variable method on your primary plugin class.
{{ craft.myPlugin.recentPosts }}
Or loop over an array:
{% for post in craft.myPlugin.recentPosts %}
<h2>{{ post.title }}</h2>
{% endfor %}
Twig gives full power over frontend markup while keeping presentation separate from business logic.
With these fundamentals covered, you now have a solid foundation for bringing any plugin idea to life! Start small, iterate quickly, and have fun building.

Advanced Plugin Development Concepts
Debugging and Troubleshooting
Debugging faulty plugin behaviour takes time and sleuthing. Handy tools include Craft's Debug Toolbar which provides profiling info and logs when enabled in dev environments. The Xdebug PHP extension allows step debugging and call stack traces that integrate with IDEs.
Logging using Craft::info() and Craft::error() outputs useful messages - check the storage/logs/ folder. Temporarily adding dump() or dd() calls lets you inspect variables as code runs. Searching on Stack Overflow can uncover helpful tips for similar issues. The key is to patiently analyze when and how the problem occurs, then systematically replicate it to isolate the cause.
Automated Testing
Adding automated testing vastly improves plugin quality and guards against regressions down the line. Unit tests isolate and validate individual classes and methods. Integration tests verify that different components work together correctly. And functional tests simulate real frontend usage flows.
Craft provides excellent built-in utilities for testing like craft\test\TestCase so you don't have to reinvent the wheel. Aim to cover critical workflows and edge cases with automated tests. It pays off by saving countless headaches when making ongoing changes and enhancements.
Performance Optimization
For plugins with heavy traffic or complex functionality, keeping an eye on performance is wise. Caching expensive queries, API calls or processing can improve speed. Eager loading associated data avoids N+1 query problems. Paginating large data sets prevents overloading the database.
Optimized images, lazy loading and CDNs offload static assets for faster page loads. Minification streamlines CSS, JS and HTML output size. Monitoring tools like New Relic or Blackfire can identify code bottlenecks. Addressing performance early on saves pain down the road.
Security Considerations
Some good security practices include properly escaping all displayed user input with Twig's |e filter, validating and sanitizing submitted data, using granular and restrictive permissions, enforcing site-wide TLS and HTTP Strict Transport Security, and staying updated on patches.
OWASP's Top 10 guide covers common risks like XSS, CSRF, and injections that require vigilance. Applying a security mindset throughout development prevents exploits down the line.
Error Handling
Gracefully handling errors improves stability. Use try/catch blocks for expected exceptions so they don't bubble up. Log exceptions with useful debugging context using \Craft::$app->log->error(). Display generic error pages to users rather than exposing raw exceptions. Wrap 3rd party API client code in try/catch blocks as errors are likely. Lean on Craft's built-in exception handling capabilities. Robust error handling preserves continuity for users and improves debugging.
Best Practices
Some other best practices include using modern namespaces, PSR-4 autoloading, and semantic versioning conventions. Well-structured OOP code avoids spaghetti logic. Leveraging proven frameworks like Craft and Yii saves reinventing common functionality.
Providing clear documentation helps developers use your plugins effectively. Avoiding code smells like god classes, duplicated code, and rigid coupling keeps things clean. Learning from and contributing back to the open source community enables faster skills growth. Following industry-standard approaches pays off in maintainable and extensible plugin code.
Distributing and Installing Plugins
Preparing for Release
Before publishing your plugin, take time to ensure everything is ready for users. Thorough documentation in a README covers key details like installation steps, usage examples, and the plugin's API. Choosing an open source license like MIT or GPL makes expectations clear, while paid licenses are an option as well. Use semantic versioning so users understand the scope of changes in each release.
Plan for maintaining and enhancing the plugin long-term through updates and fixes. Be sure to test all critical functionality end-to-end yourself first. Share release news on social media, Reddit, Discord and other channels to maximize awareness. Releasing too early risks a poor first impression, so polish things upfront.
Packaging and Distribution
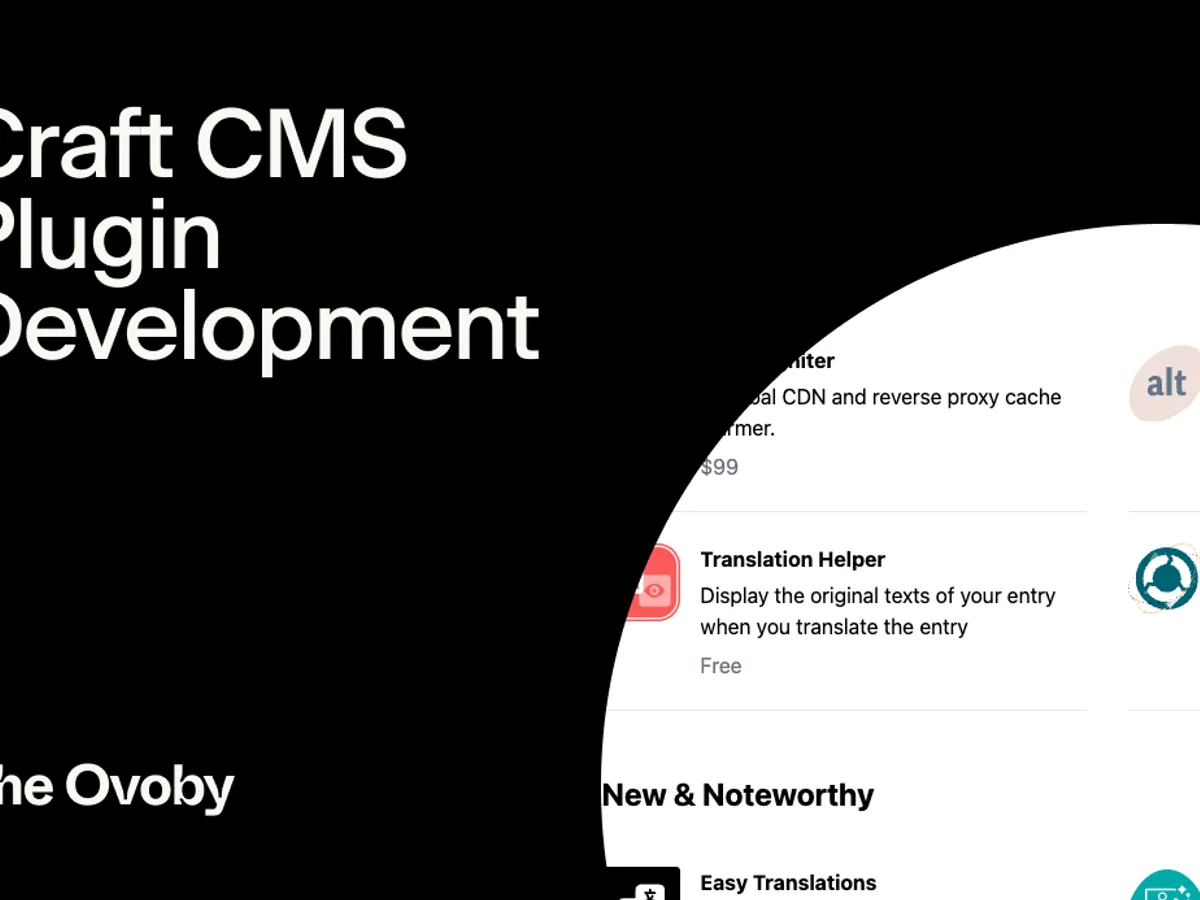
To share the plugin, start by zipping up the source into a standard archive file. Tag a GitHub release and attach the zip there for easy downloads. Submit to marketplaces like PluginFactory and Craft Quest for greater visibility within the community. Or self-host the zip on your own site or Amazon S3.
Prominently link to the installation instructions and documentation wherever you share the zip. Spreading across multiple distribution channels makes the plugin accessible to more users.
Installing and Troubleshooting
For users to install the plugin, they upload the zip within Craft's Admin Plugin page, enable it under Settings, and test out the new functionality. Referring to the documentation helps during initial usage. If issues occur, checking Craft's logs may reveal errors during setup for newer plugins. Trying common fixes like re-uploading the plugin or adjusting file permissions can help.
Users can also contact the developer via email or GitHub issues for troubleshooting assistance, sharing detailed error information and reproduction steps. With quality documentation and some user support in place, plugins can find happy users and grow their audience over time through word of mouth. Careful release planning helps ensure a smooth experience for users from day one.

Andy has scaled multiple businesses and is a big believer in Craft CMS as a tool that benefits both Designer, Developer and Client.

