We use cookies to make your viewing experience better. By accepting you consent, you agree to our Cookie policy
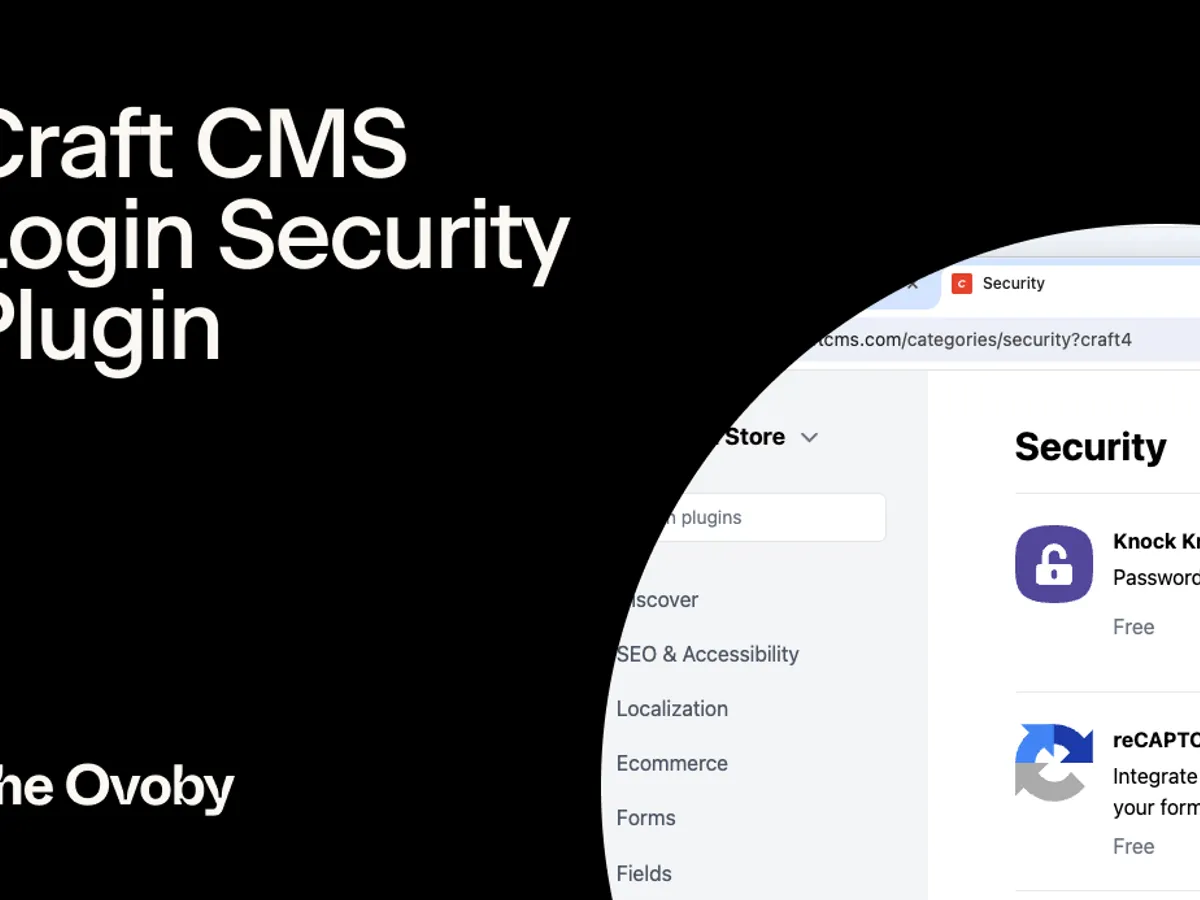
A Guide To The Craft CMS Login Security Plugin
Struggling with bot attacks and unauthorized access plaguing your Craft CMS site? Beefing up login security is crucial. This guide dives into the invaluable Login Security plugin, unpacking how to install, configure settings, enable two-factor authentication, thwart brute force attempts, and effectively troubleshoot issues. Gain actionable insights on harnessing this tool to lock down your site without hampering legitimate users.
The Craft CMS Login Security plugin provides robust access control. It allows limiting login attempts, enabling 2FA and captchas, password policies, blacklisting IPs, detailed activity logs, and extensive configuration customization. This comprehensive plugin hardens site security and user access management.
Installing the Plugin
System Requirements
Before installing the Craft CMS Login Security plugin, it's important to ensure your system meets the necessary requirements for compatibility. The plugin requires PHP 7.0 or later, as well as some core frameworks like Twig and Yii. Some helpful extensions like cURL, JSON, Mbstring, and Intl are also recommended to enable full functionality. Overall, the plugin aims to maintain wide compatibility across shared hosts and common CMS configurations, but be sure to cross-check the prerequisites like your PHP version and installed extensions to avoid setup issues. Running a quick check on these system requirements for the Login Security plugin ahead of installation will ensure a smooth and straightforward process.
Installation Methods
When ready to install, the Login Security plugin can be added to your Craft CMS site through either Composer or manual upload.
For Composer, first ensure it is installed globally on your system. Then while in your project's root directory, run the command composer require verbb/login-security. This will automatically download and install the plugin files.
For manual installs, first download the Login Security zip file from the plugin store or GitHub. Unzip and place the loginsecurity folder in your craft/plugins directory.
With the files now on your server, go to Admin > Settings > Plugins in the Craft control panel, and you'll find Login Security ready to be installed. Click install to complete the process.
If experiencing any hiccups during installation, double-check that the system requirements are met, and the correct folder structure is in place. Refer to the plugin documentation for additional troubleshooting tips to debug quirky issues that may pop up.
Verifying the Installation
Once installation is complete through either Composer or manual methods, verify that the Login Security plugin is correctly set up.
In the Craft control panel, navigate to Settings > Plugins and check that Login Security shows with a status of “Installed”. Clicking the plugin should also reveal information and settings unique to Login Security.
You can also browse to an administration or front-end page of your site, and watch for any new Login Security alerts or notices that may display indicating it is operational.
As a final validation, attempt to make use of a Login Security feature like enabling two-factor authentication for your account. If the plugin is active, you will be able to tap into key functionality confirming it is ready to go.
Global Configuration
Accessing Plugin Settings
Once the Login Security plugin is installed in Craft CMS, the next step is accessing the plugin's settings to begin configuration. From the main Admin sidebar, go to Settings > Plugins and select Login Security. This will open up the plugin's settings area.
Another way to access the settings is by navigating directly to a URL like yoursite.com/admin/settings/plugins/login-security. This will take you right into configuring the plugin's options.
Within the Login Security settings area, you'll find tabs for different sections like General Settings, User Settings, Two-Factor Auth, Blacklisting, and more. These tabs contain all the available configuration options for enabling the plugin's functionality.
General Settings
The General Settings tab contains common configurations that apply globally across your site. Options here allow you to restrict login attempts, set lockout duration, add captcha protection, and more.
For example, you can limit failed login attempts by IP address, with options ranging from 5 attempts to unlimited. This prevents brute force hacking attempts by locking out IPs after a certain threshold.
The lockout duration setting specifies how long a lockout remains in effect. This could be set to an hour or indefinitely until manually unlocked.
Additional general settings include enabling Google reCAPTCHA and managing remember me functionality. Configuring these global options appropriately helps harden login security site-wide.
Email Notifications
The Email Notifications tab enables configuring automated email alerts for events like lockouts, blacklisting, and other security issues.
For instance, you can toggle on email notices to admins when an IP address gets locked out after too many failed login attempts, indicating a possible brute force attack.
Emails can also be sent when an account gets blacklisted or when two-factor authentication is enabled or disabled on a user.
With detailed notifications set up, admins can stay on top of security events and respond quickly to potential threats. The email options offer robust logging and auditing around site access.
User Group Configurations
Creating User Groups
Craft CMS allows creating separate user groups to segment users and customize their permissions. To add a new group, go to Settings > Users > Groups in the control panel.
Click the "New group" button, give the group a name like "Content Editors", choose an appropriate handle, and click Save.
Now under Users, any newly created or existing users can be assigned to this group by editing the user and selecting the group name from the "Groups" dropdown. Segmenting users into logical groups is key for applying targeted settings.
Group-specific Settings
A powerful feature of the Login Security plugin is the ability to override global configurations and set custom plugin settings per user group.
For example, admins could be exempt from captcha requirements on login by going to Login Security's User Settings tab, selecting the "Admin" group, and unchecking the reCAPTCHA setting.
Likewise, lockout rules and login attempt limits could be relaxed for internal users while keeping external accounts more restricted. Segmenting users and customizing plugin settings at the group level allows fine-grained control.
Use Cases
User group-based settings come in handy for scenarios where a unified policy for all users isn't ideal.
For example, admins who frequently access the control panel may find overly rigid login security frustrating, so their group settings can be tweaked to reduce friction.
Externally facing user groups can undergo extra scrutiny to better defend public points of entry, while internal groups maintain more moderate security.
Groups like "Trust Admins" or "Partners" could undergo simplified vetting and auditing to ease access for trusted relationships while limiting risks.
Customized user groups enable targeted Login Security configurations and balanced defense across a diverse user base.
Captcha Protection
Enabling Captchas
The Login Security plugin makes it easy to add captcha protection at login, either globally or for specific user groups.
To enable captcha globally, go to the plugin's General Settings tab and check the "Enable Google reCAPTCHA" option. This will require passing a captcha for all logins.
To enable for certain groups only, go to the User Settings tab, select the group, and check the captcha setting. For example, enable it only for public user groups.
Google reCAPTCHA v2 is supported out of the box requiring just a site and secret key entered in the plugin settings. With those keys added, captcha will be active.
Configuring Captcha Settings
Diving into the reCAPTCHA settings tab provides additional captcha configuration options.
The character length can be set from 3 default up to 12 characters for a more formidable visual test.
Font options include standard, math, and exotic characters along with distorted and warped variants to make captcha bypass more difficult.
Background noise like interpolated lines and dots can be added for further obfuscation. Adjust these captcha settings to strike the right balance of security and usability.
Display and Customization
Login Security also allows customizing the captcha display by adding your own logo, brand colours, and transparency.
For example, the background colour could be changed to match your brand palette using a hexadecimal colour picker. A company logo icon helps improve branding and familiarity.
Transparency can also be adjusted so the captcha blends into the background, rather than a stark white box.
Optimizing the captcha display in this way improves aesthetics and usability while maintaining crucial anti-bot protection for logins. Users will encounter a familiar and accessible challenge.
Two Factor Authentication
Enabling 2FA
The Login Security plugin allows enabling two-factor authentication (2FA) for added login protection, configured either globally or per user group.
To enable globally, check the "Enable Two-Factor Auth" setting on the General Settings tab. This requires 2FA across all front-end and back-end logins.
To enable per user group, go to the User Settings tab, select the group, and check the 2FA setting for just that group. For instance, mandate 2FA for admins only.
Once enabled, users will go through an additional verification step during login by entering a code from an authenticator app or via email/SMS.
Configuring 2FA
The Two-Factor Auth settings tab provides configuration options for customizing 2FA functionality.
Supported verification methods include TOTP apps, email codes, SMS codes, and U2F hardware keys. Choose which methods to permit.
Trusted device saving can be enabled, allowing users to skip 2FA checks from remembered devices for a set duration. This improves convenience.
Recovery codes provide fallback account access if a user loses their 2FA device. Set how many single-use codes get generated.
Fine-tuning these settings ensures a secure yet usable 2FA implementation.
User Experience
For users, the 2FA login flow will redirect after entering their password to an intermediate verification screen.
They'll be prompted to approve the login attempt using their configured 2FA method, like entering a TOTP app code or U2F hardware key press.
Help documentation can guide users through onboarding their authenticator app or secondary device.
Remembered devices and whitelisting internal IPs can ease frequent backends logins. With a thoughtful 2FA approach, security is strengthened without disrupting user productivity.
Brute Force Protection
Failed Login Limits
The Login Security plugin allows setting maximum failed login attempt limits globally or per user group as a brute force prevention measure.
For example, the global limit could be set to 5 failed attempts from a given IP address within a 15 minute period by configuring the general settings.
For user groups like Admins that login frequently, this threshold could be increased to a higher number like 10 or disabled entirely.
Tuning the failed login limits appropriately per group helps restrict bad actors while avoiding inadvertent lockouts of legitimate users.
Lockout Duration
Once a failed login limit gets exceeded, an automatic lockout can be triggered to disable logins from the breaching IP address.
The general settings allow configuring the lockout duration applied globally, from 1 hour up to indefinitely until manually released.
The per-group settings allow custom lockout periods for each user group segment. For instance, admins could have a shorter 30 minute lockout duration.
Tuning lockout periods helps deter attacks without overly impeding legitimate access in the event of accidental lockouts.
Whitelisting Trusted IPs
IPs known to be safe like office networks or tools can be whitelisted to exclude them from failed login limits and lockout rules.
Under the plugin's general settings, specific IP addresses can be allowed, along with wildcards using CIDR notation. This prevents internal company access from being impacted during brute force attacks.
Whitelists allow applying blanket login attempt rules globally while exempting trusted sources. This maintains security without disrupting legitimate internal access.
Blacklisting Risky IPs
Automatic Blacklisting
The Login Security plugin can automatically blacklist IP addresses that exceed failed login attempt thresholds.
Under the general settings, you can enable blacklisting IPs after a certain number of breaches globally across the site.
The thresholds can also be customized per user group. For example, blacklist public user IPs after 5 breaches, while admin IPs blacklist after 10.
Once blacklisted, all logins from the IP will be blocked. Automatic blacklisting helps proactively stop attack vectors.
Manual IP Bans
In addition to automatic bans, specific IP addresses can be manually blacklisted as needed by admins.
Under the plugin's Blacklist tab, individual IPs can be blocked, along with ranges using CIDR notation.
Manual bans help quickly prohibit known malicious IPs that get flagged or need emergency blocking for security incidents.
Notifications and Alerts
To keep admins informed of blacklisting events, email notifications can be enabled in the plugin's settings.
When an IP gets automatically or manually blacklisted, an email is sent detailing the block for auditing purposes.
For automatic bans impacting legitimate users, it can also email the affected user with instructions for reporting the block if they were misclassified.
With proper notifications in place, blacklists remain transparent while accelerating response and remediation.
Password Security
Password Strength Enforcement
The Login Password Security plugin provides options to enforce minimum password strength for better protection against guessing and brute force attacks.
Password patterns can be set globally, requiring inclusion of upper/lowercase letters, numbers, and special symbols in any new passwords.
Minimum password score thresholds can also be enforced, analyzing new passwords with zxcvbn for sufficient entropy strength.
If users create weak passwords that don't meet requirements, they will receive validation errors on save and be forced to create stronger ones.
Forced Password Resets
To prevent password reuse and stagnation, forced periodic resets can be enabled per user group.
For example, external users could be required to reset passwords every 90 days, while internal users reset every 6 months.
This expiration continually cycles users into new strong passwords for improved security hygiene and protection.
Weak Password Notifications
If a user has an old or weak password deemed at risk, email notifications can be sent urging them to reset it.
These reminder emails help notify users who may be grandfathered in with older passwords that need refreshing based on current policy.
Proactive weak password notifications encourage users to maintain vigilance and stay current with password best practices.
Auditing and Logging
Login and Audit Logs
The Login Security plugin provides detailed authentication and audit logs to track all activity related to the system.
All login events, failed attempts, lockouts, configuration changes, and security actions are logged for auditing purposes.
These logs provide a forensic trail of what happened when, from what IP address, involving which user accounts.
Having robust login and audit logs enables thorough monitoring, troubleshooting, and investigation when needed.
Log Retention and Pruning
To prevent unchecked log growth, retention durations and pruning can be configured.
Older log entries can automatically be deleted after a set time period, such as keeping logs for 90 days maximum before removal.
Log pruning can happen on a scheduled cadence, keeping storage consumption reasonable while maintaining ample history.
Retaining one year or more of historical logs is ideal for spotting longer-term patterns and changes.
Log Analysis and Monitoring
Regularly analyzing and monitoring the authentication logs allows proactively identifying issues and suspicious activities.
Reviewing logs can reveal attackers probing with failed attempts from particular IPs, alerting to blocklists needing updates.
Patterns like users repeatedly triggering lockouts may indicate credential hygiene issues needing education.
Auditing logs after major incidents can reveal key forensics like breach origin and methods. Taken together, diligent log analysis provides critical insight into the state of login security.
Troubleshooting Issues
Investigation Steps
When login security issues arise, there are systematic troubleshooting steps to help investigate and diagnose potential causes.
Start by checking the plugin’s status page and verifying settings were saved properly. Viewing the audit logs filtered by the time of issues can reveal relevant events like failed login spikes.
If experiencing lockouts, check blacklist settings and whitelists to ensure valid users aren’t being blocked unintentionally.
For captcha problems, confirm API keys are correct, and test display using the troubleshooting tools. Follow a methodical issue checklist to isolate the root cause.
Temporary Workarounds
In some cases, temporary workarounds can quickly restore access while allowing time to troubleshoot fully.
For problematic false lockouts, failed login attempt limits could be raised or temporarily disabled to unblock users. Features like captchas can also be disabled short term.
These workarounds aim to restore service rapidly, while full investigation and resolution occurs behind the scenes.
Support Resources
If troubleshooting in circles, tap into available support resources to help resolve stubborn issues.
The plugin developer offers extensive documentation with troubleshooting tips. Community forums connect with other users for solutions.
Logging a ticket with plugin technical support can provide one-on-one troubleshooting assistance from experts on configuration issues.
Leveraging knowledgebases, forums, and developer support can accelerate identifying and fixing root causes when needed.

Andy has scaled multiple businesses and is a big believer in Craft CMS as a tool that benefits both Designer, Developer and Client.

